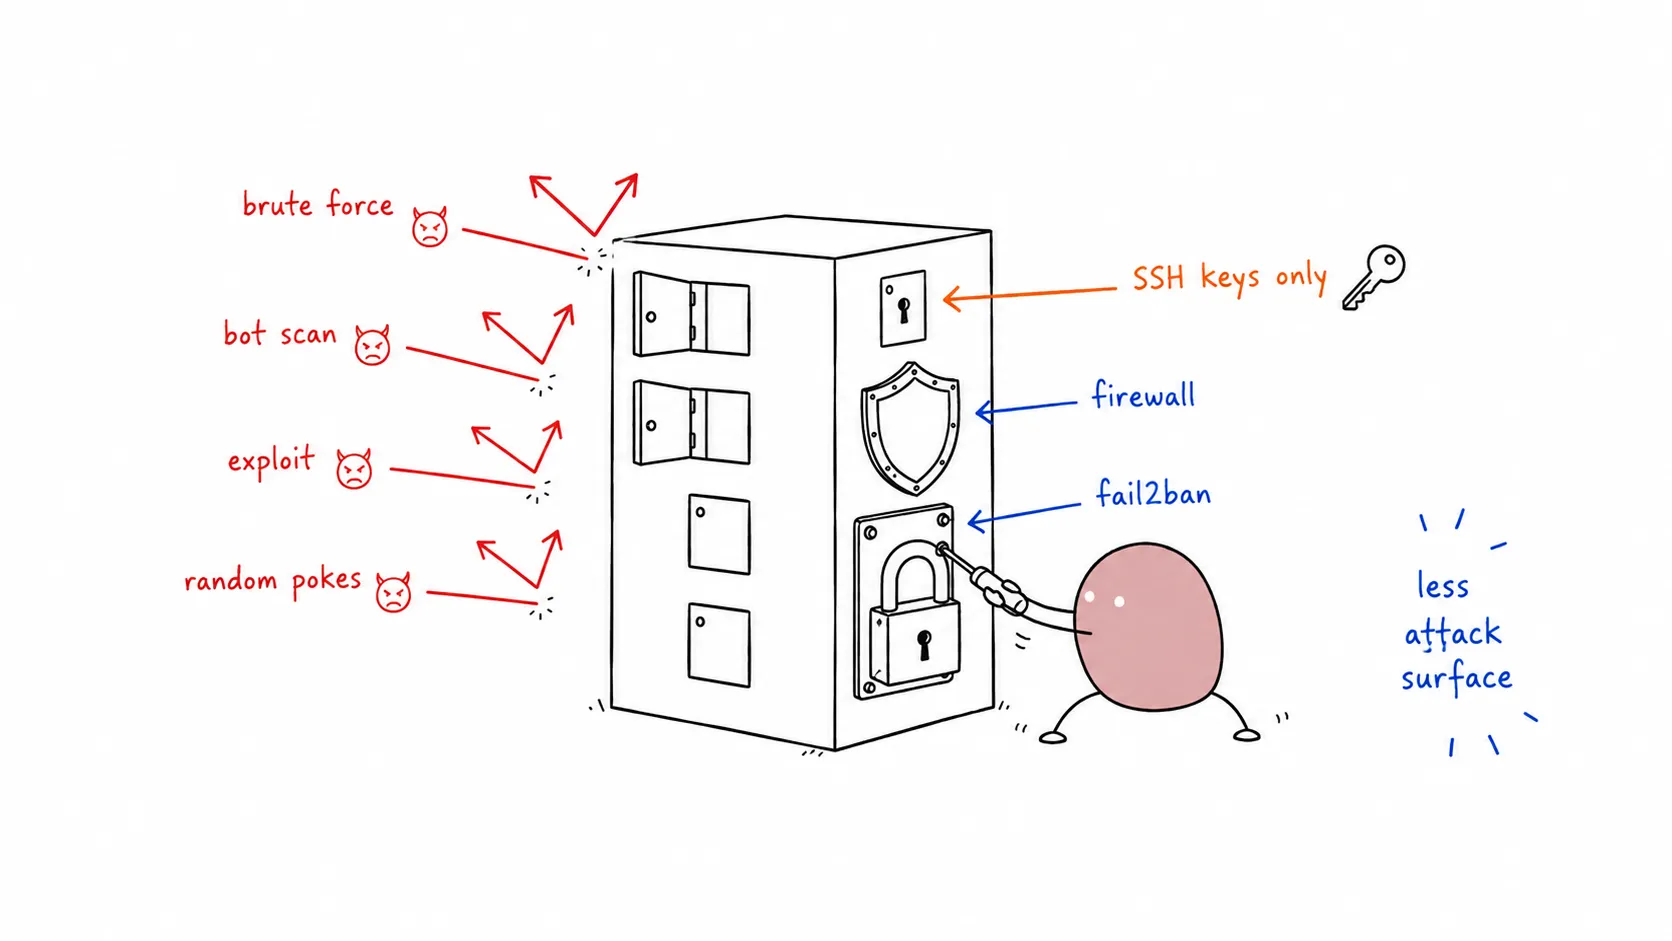
Securing your Ubuntu server is essential whether you’re running a production web server, a homelab service, or a cloud instance. This guide covers the essential steps to harden your Ubuntu Server 22.04/24.04 LTS installation, following security best practices and CIS benchmarks.
Prerequisites
Ubuntu Server 22.04 LTS or 24.04 LTS (fresh installation preferred)
Root or sudo access
SSH access to the server
Backup of critical data (always backup before making system changes)
Phase 1: Initial System Updates
Update System Packages
Start with a fully updated system to patch known vulnerabilities:
Shared memory is a common attack vector. While it’s efficient for process communication, it can be exploited for privilege escalation or arbitrary code execution.
Harden /run/shm
Add the following to /etc/fstab to mount shared memory with restrictive options:
echo "tmpfs /run/shm tmpfs defaults,noexec,nosuid,nodev 0 0" | sudo tee -a /etc/fstab
Explanation:
noexec — Prevents execution of binaries
nosuid — Ignores set-user-identifier bits
nodev — Prevents interpretation of device files
Apply changes:
sudo mount -o remount /run/shm# Or reboot:sudo reboot
Verify the mount:
mount | grep shm# Should show: tmpfs on /run/shm type tmpfs (rw,nosuid,nodev,noexec,relatime)
Quick Security Checklist
Use this checklist to verify your hardening:
System fully updated with automatic security updates enabled
SSH root login disabled
SSH password authentication disabled (keys only)
SSH port changed from default (optional)
UFW firewall enabled with minimal allowed ports
Fail2ban installed and running
Non-root user created for administration
Password policies configured
Unnecessary services disabled
Shared memory secured (noexec,nosuid,nodev)
Automatic backups configured
Security auditing tools installed
Security Audit Cheatsheet
Quick commands to audit your server’s security:
User & Permission Auditing
# Find users with UID 0 (should only be root)awk -F: '($3 == 0) {print}' /etc/passwd# List all user accountsawk -F: '{print $1}' /etc/passwd# Find users without passwords (empty password field)awk -F: '($2 == "") {print $1}' /etc/shadow# Check for users with sudo accessgetent group sudo# Find SUID/SGID files (potential privilege escalation)find / -perm -4000 -type f 2>/dev/nullfind / -perm -2000 -type f 2>/dev/null
Network & Connection Auditing
# Check listening portsss -tulnp# Check established connectionsss -tu np state established# Review firewall statussudo ufw status verbose# Check for open ports from outside# (Run from another machine)nmap -sV your-server-ip
# Download and reviewwget https://your-domain.com/harden.sh -O ubuntu-harden.shnano ubuntu-harden.sh # Review before running!# Make executable and runchmod +x ubuntu-harden.shsudo ./ubuntu-harden.sh
Testing Your Security
After hardening, test your configuration:
Verify SSH access: Try connecting with your key (not password)
Test Fail2ban: Attempt failed logins and check ban status
Check firewall: Use nmap from another machine to scan open ports
Run Lynis audit: Review the hardening index score
# From another machine, scan your servernmap -sV -O your-server-ip
Conclusion
This guide provides a solid security baseline for Ubuntu servers. Remember that security is an ongoing process:
Monitor logs regularly for suspicious activity
Keep system updated with security patches
Review firewall rules periodically
Audit user accounts and remove unused ones
Test backups to ensure they work
⚠️ IMPORTANT: Always test changes in a non-production environment first. Keep a backup of working configurations before making changes.
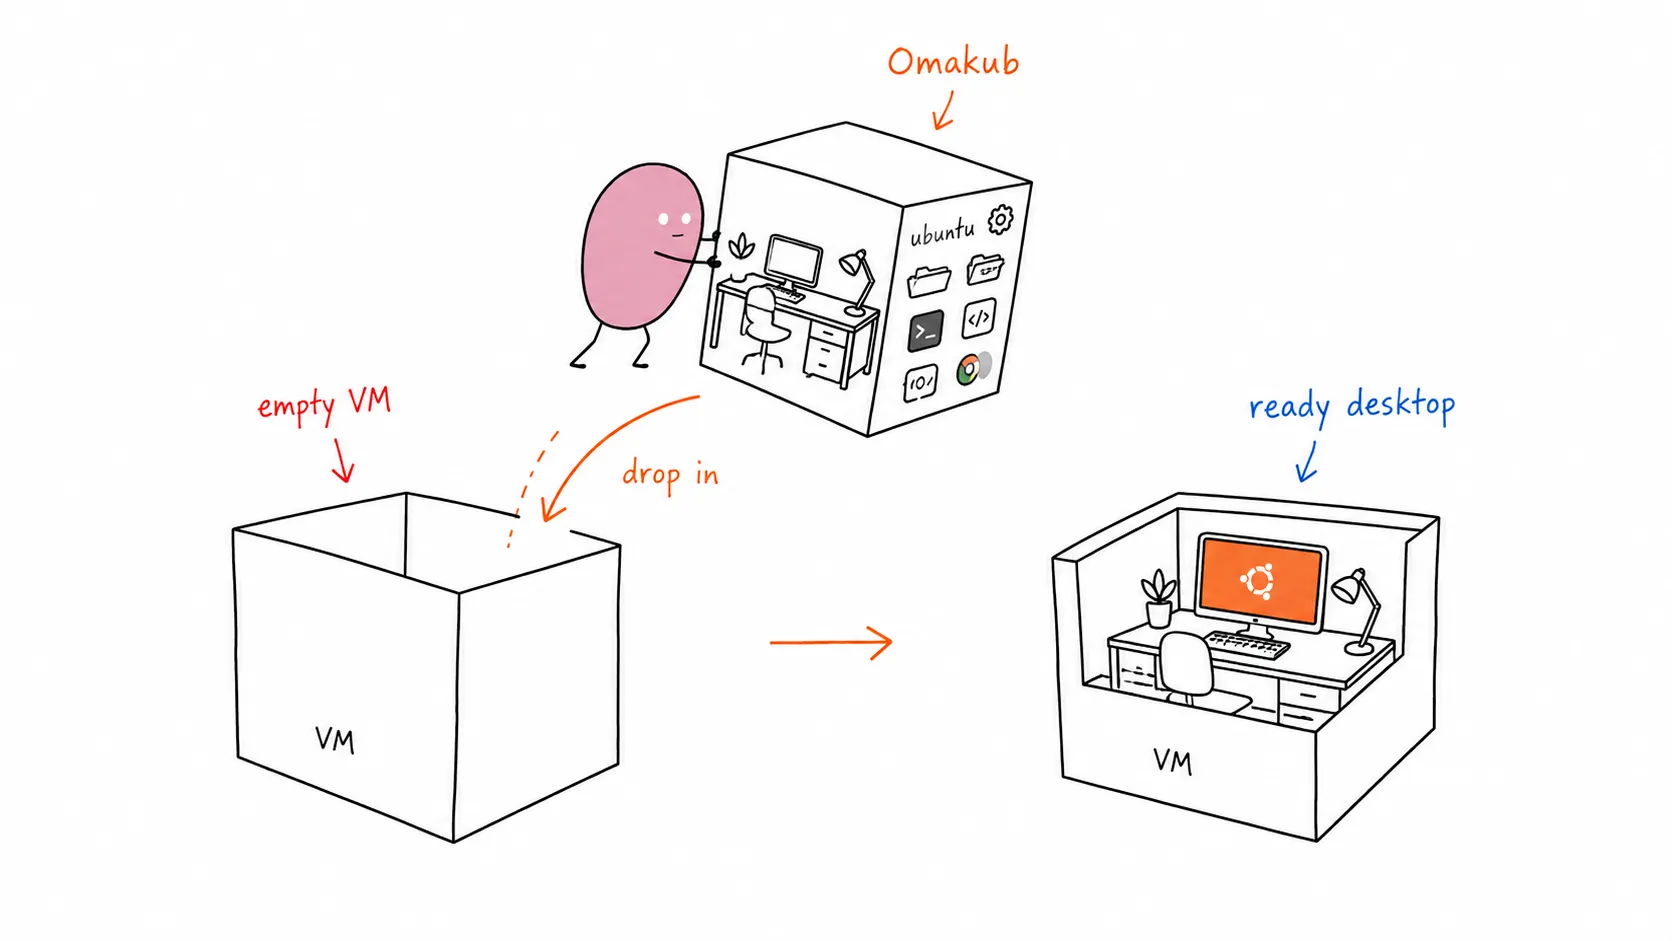
I recently found myself in a common homelab dilemma: I needed a dedicated machine for a jumphost and remote development environment, but all my spare hardware was already tied up with my Proxmox server running other services. So, I decided to leverage my existing Proxmox setup and install Omakub inside a virtual machine.
Omakub, based on Ubuntu, provides a clean and efficient workspace, perfect for keeping my main PC clutter-free while still having a powerful Linux environment at my fingertips. This guide will walk you through setting up a fresh Ubuntu 24.04 VM in Proxmox and then installing Omakub.
VM Specification
For this setup, I allocated the following resources to my Proxmox VM:
VCPU: 8
RAM: 16 GB
Storage: 512 GB SSD
Step by Step: Ubuntu 24.04 Installation (Proxmox VM)
Download Ubuntu 24.04 ISO:
First, grab the official Ubuntu 24.04 Desktop ISO from the Ubuntu website.
https://releases.ubuntu.com/24.04/
Create a New VM in Proxmox:
Follow the standard Proxmox procedure to create a new virtual machine.
Mount the downloaded Ubuntu ISO as a CD/DVD drive.
Configure the VM with the specifications mentioned above (8 VCPU, 16 GB RAM, 512 GB SSD).
Ensure you select “Qemu Agent” in the VM options for better integration.
Install Ubuntu 24.04:
Boot the VM and proceed with a fresh installation of Ubuntu 24.04 Desktop. Follow the on-screen prompts to set up your user, timezone, etc.
Post-Installation Setup
Once Ubuntu is installed and you’ve rebooted into your fresh desktop, perform these crucial steps before installing Omakub:
Update all repositories:
sudo apt update && sudo apt upgrade -y
If a reboot is requested after the update, go ahead and reboot your VM.
Install essential tools:
sudo apt install -y vim qemu-guest-agent openssh-server
After ensuring your system is updated and services are running, you can enable Remote Desktop for easier access.
Open Settings > System > Remote Desktop.
Toggle Remote Desktop to ON.
For Remote Login, you can choose to set a specific port (the default RDP port is 3389).
Set your desired username and password for remote access.
Now, you can test connecting to your Ubuntu VM using an RDP client. I use Microsoft Remote Desktop on my Mac.
Omakub Installation
Once you have successfully connected to your Ubuntu VM via RDP, you can proceed with the Omakub installation using their convenient one-line script.
Open a terminal in your Ubuntu VM and run:
wget -qO- https://omakub.org/install | bash
Follow the on-screen prompts to select your preferred options. The installation will take some time and will eventually request a reboot.
Post-Omakub Installation & Troubleshooting
After Omakub is installed and your VM has rebooted, try to connect again via RDP.
Xorg Session: Omakub uses Xorg. If you experience lagging or a black screen upon login, ensure you select “Ubuntu on Xorg” after entering your username and before typing your password. Look for a small gear icon (or similar) in the bottom right corner of the login screen to choose the session type.
RDP Black Screen Troubleshooting (macOS Microsoft Remote Desktop):
If you encounter a black screen specifically when using Microsoft Remote Desktop on macOS, you might need to adjust the RDP connection file:
Right-click on your existing connection in Microsoft Remote Desktop.
Select “Export” to save the connection settings as an .rdp file.
Open the saved .rdp file with a text editor.
Locate the line:
use redirection server name:i:0
Change it to:
use redirection server name:i:1
Save the modified file.
Import the edited file as a new connection in Microsoft Remote Desktop.
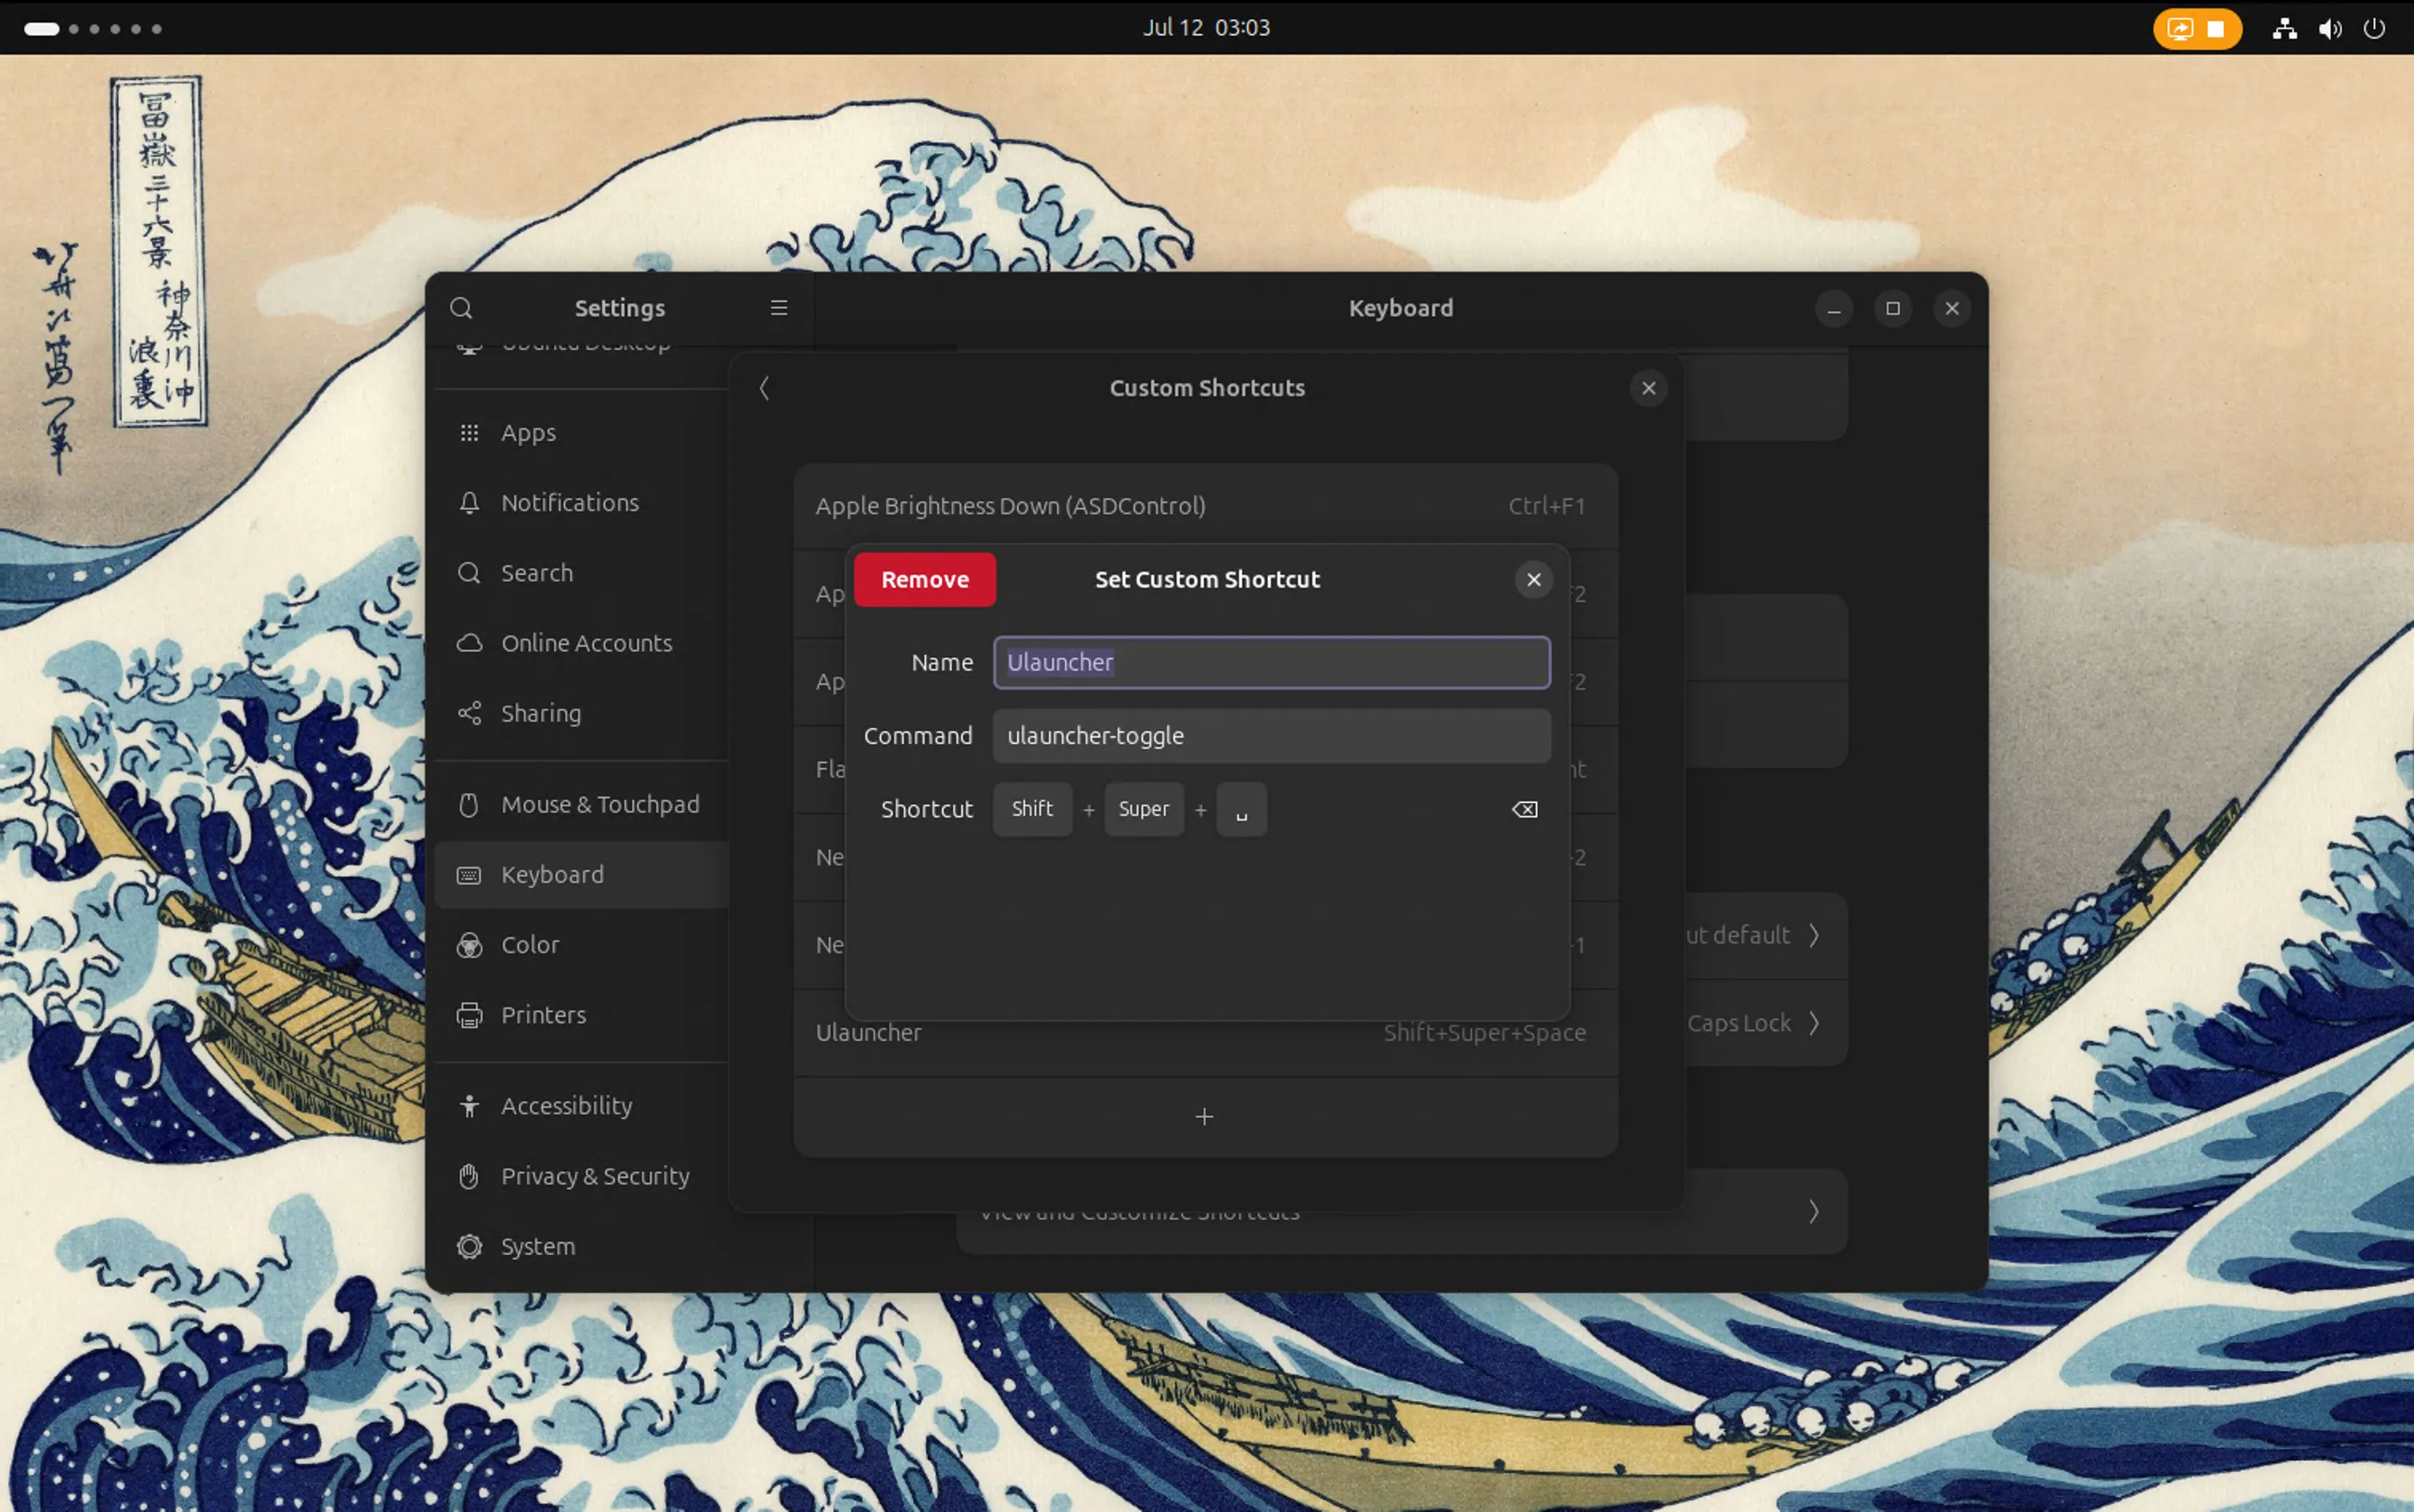
A common issue when using Remote Desktop from macOS to a Linux VM (especially with Omakub) is that macOS’s system-level shortcuts can conflict with the VM’s shortcuts, particularly those involving the Super key (Cmd key on Mac). For example, Super+Space often triggers Spotlight on macOS instead of Omakub’s application launcher.
To resolve this, you can adjust the hotkeys within Omakub to avoid conflicts:
Ulauncher (“Type app to launch”):
Original:Super + Space
New:Shift + Super + Space
You can find and modify this shortcut within Omakub’s settings, often under “Keyboard” or “Custom Shortcuts,” specifically looking for Ulauncher.
“See all apps” (System):
Original:Super + A
New:Shift + Super + A
“Close app” (Windows):
Original:Super + W
New:Shift + Super + W
By changing these keybindings in Omakub, you allow macOS to retain its system-level shortcuts while still having access to Omakub’s features with non-conflicting combinations.
Conclusion
You’ve now successfully installed Omakub on an Ubuntu 24.04 virtual machine within Proxmox! This setup provides a powerful and isolated environment for your jumphost and remote development needs, all while leveraging your existing homelab infrastructure. Enjoy your clean main PC and your new Omakub workspace!
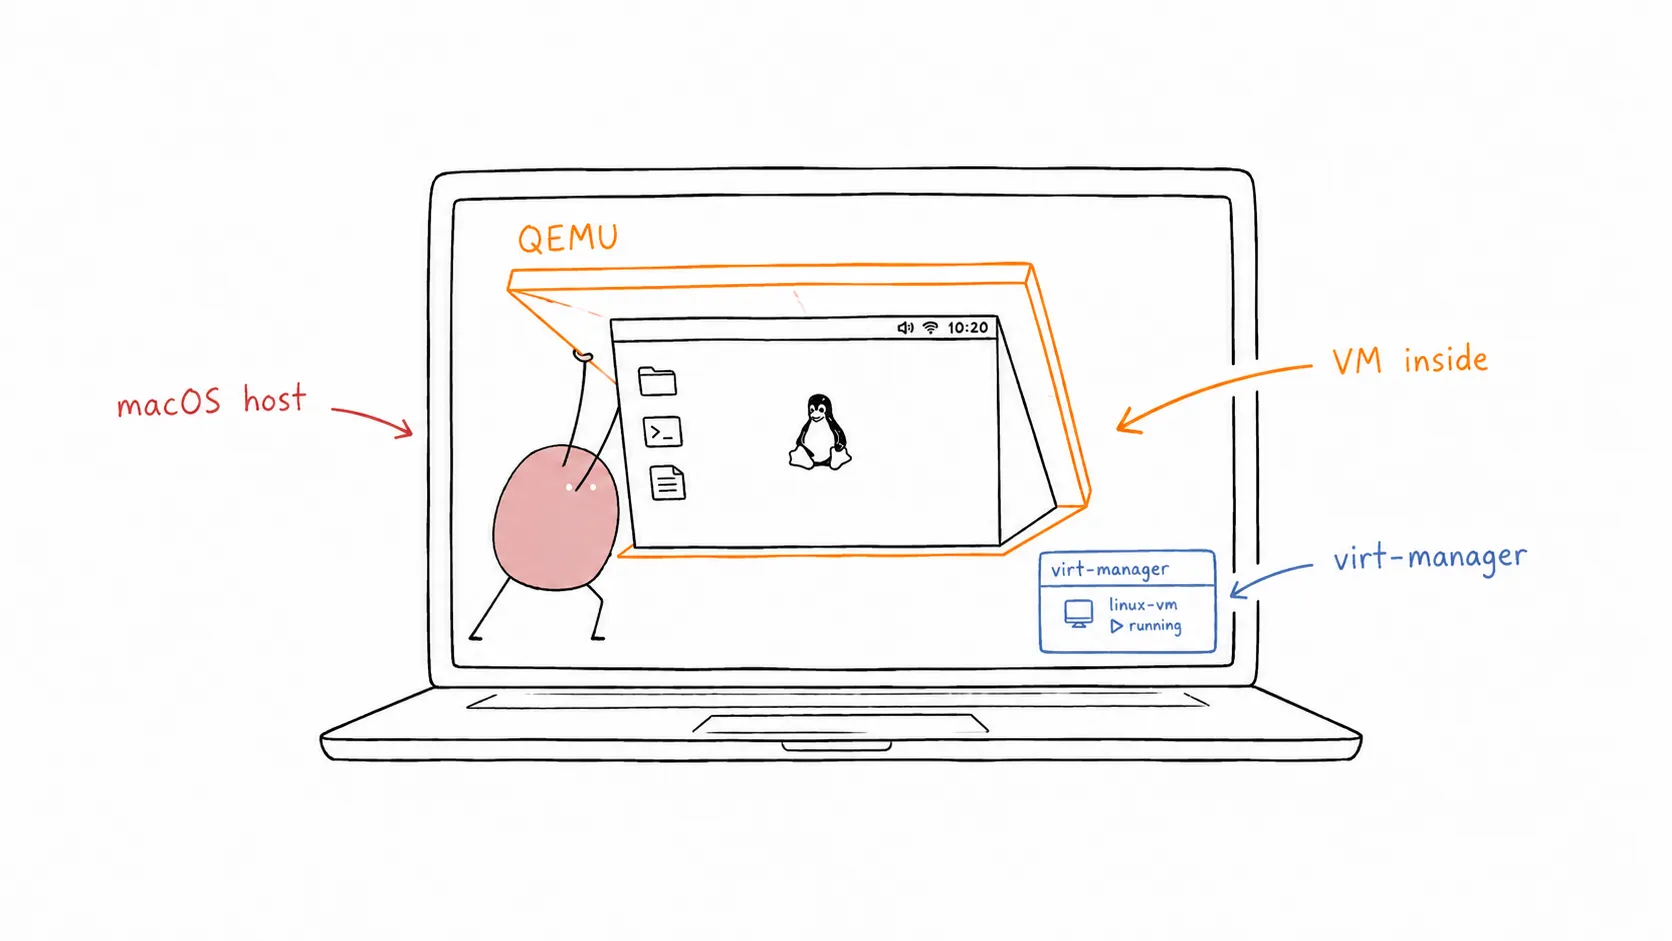
So, I found this old iMac (Retina 5K, 27-inch, 2017) lying around with pretty decent specs. I’m thinking of turning it into my dedicated x86 playground since my main machine is an M1 MacBook. First thing’s first: getting Qemu and Virt-manager up and running for some virtual machine action. Yeah, I know there are other VM solutions like VMware or VirtualBox, but I want to stay familiar with what’s common in enterprise environments (even if nobody’s running macOS in production, haha!).
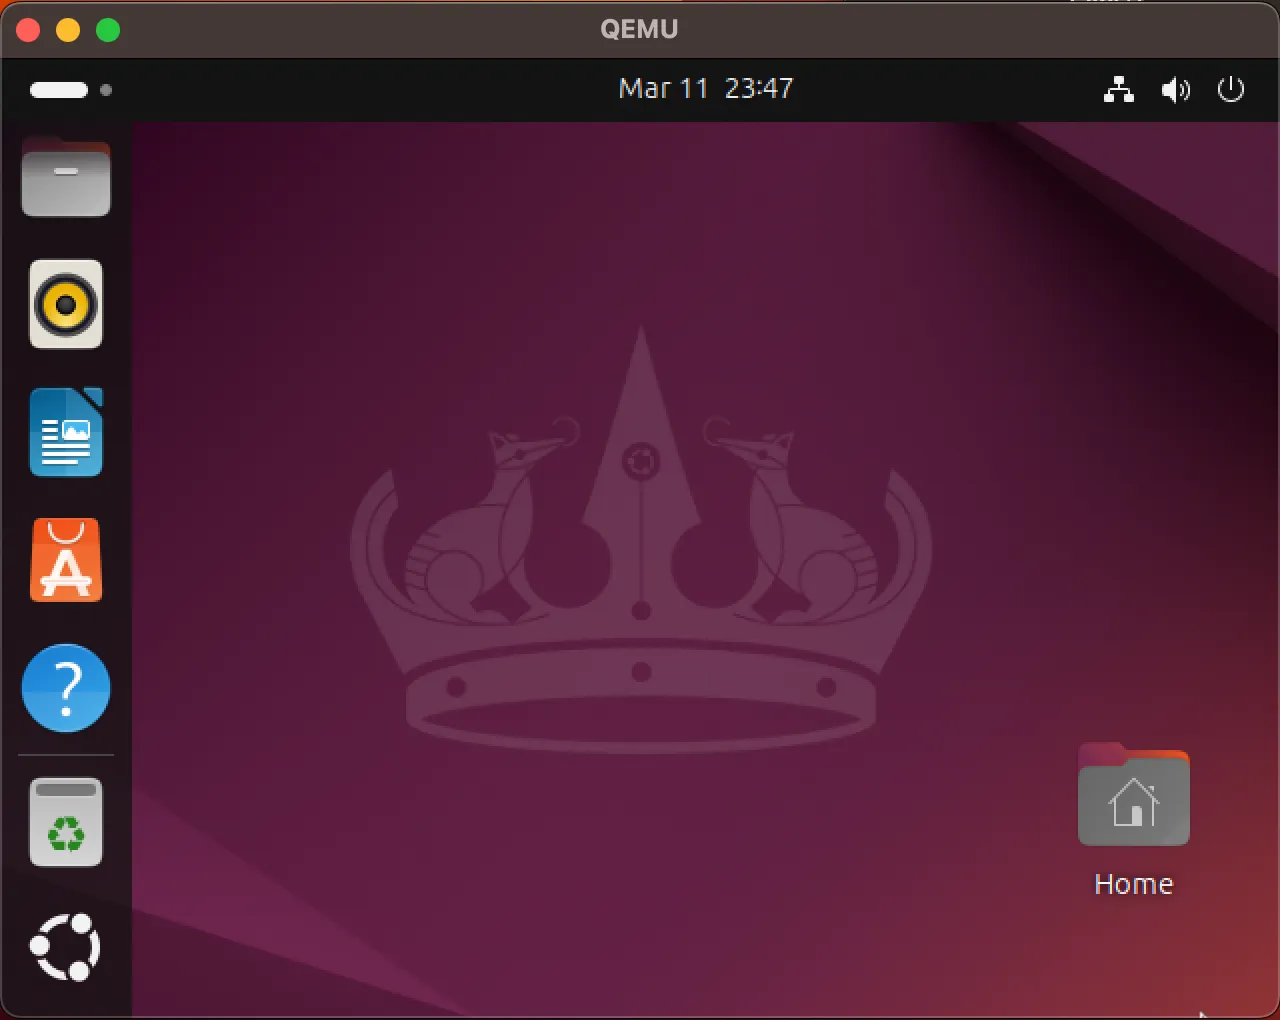
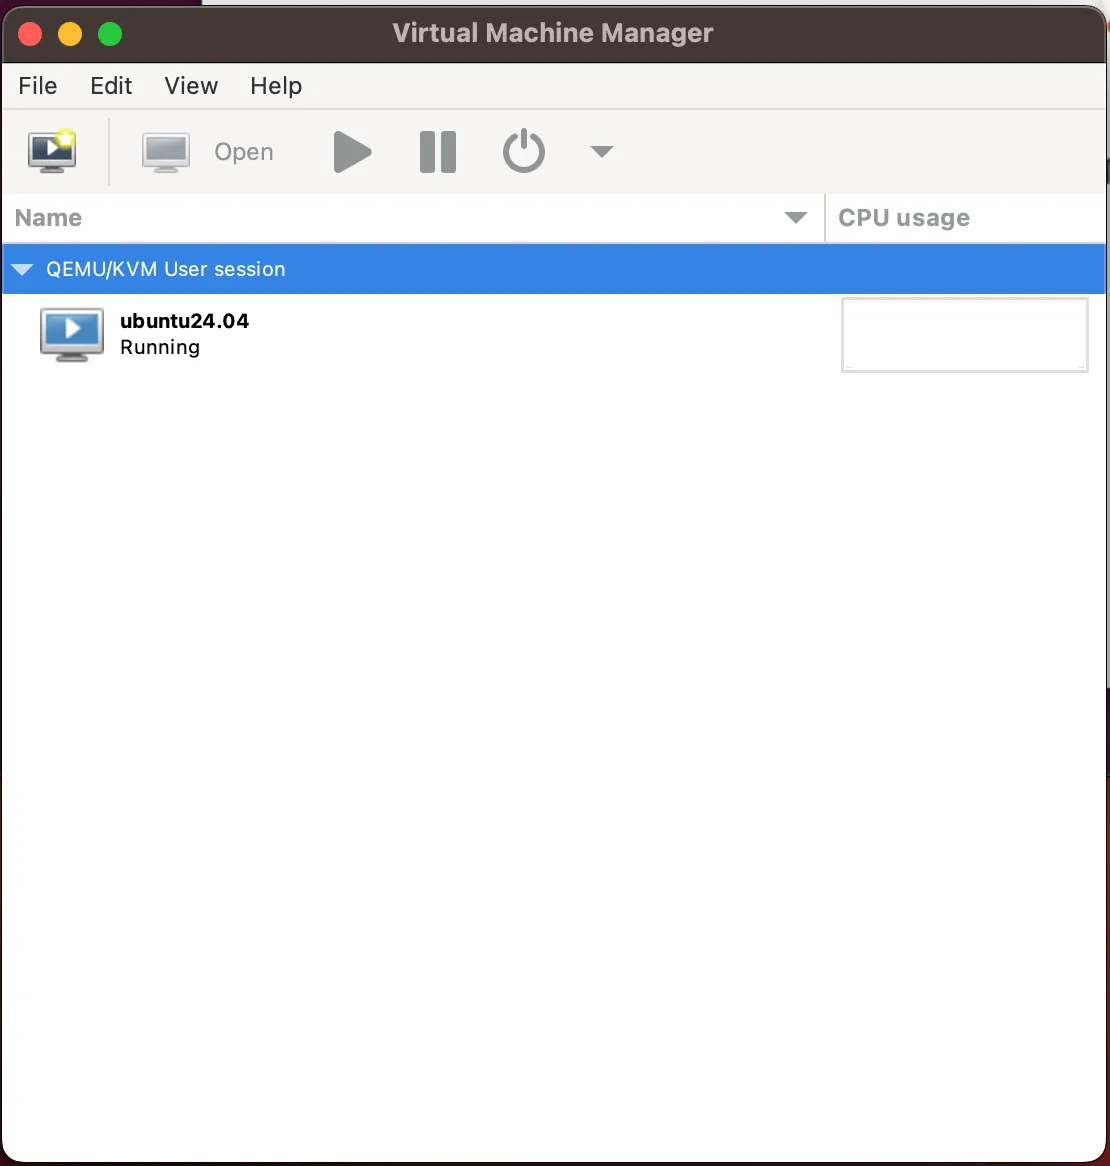
Once the window pops up, you can install Ubuntu VMs and mess around.
Conclusion
So there you have it! Qemu, libvirt, and virt-manager all set up on macOS. It wasn’t too bad, right? Now you can spin up VMs to your heart’s content. This setup is pretty handy for testing different operating systems, playing around with software, or just generally tinkering without messing up your main system. Plus, getting familiar with these tools can be a real boost if you ever find yourself working with virtualization in a more “serious” environment. Happy virtualizing!
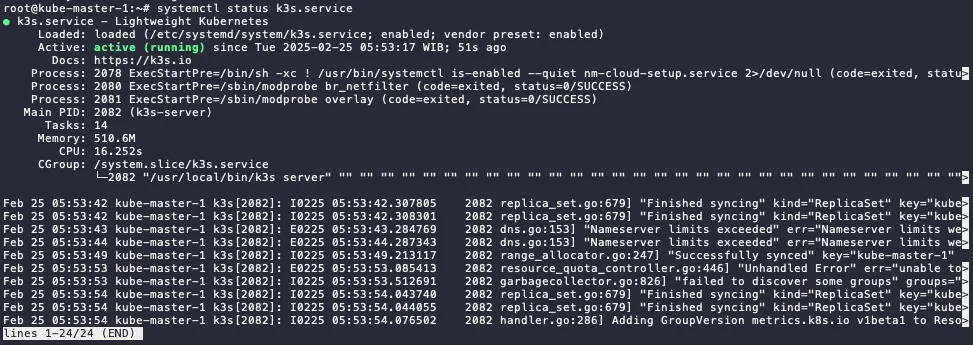
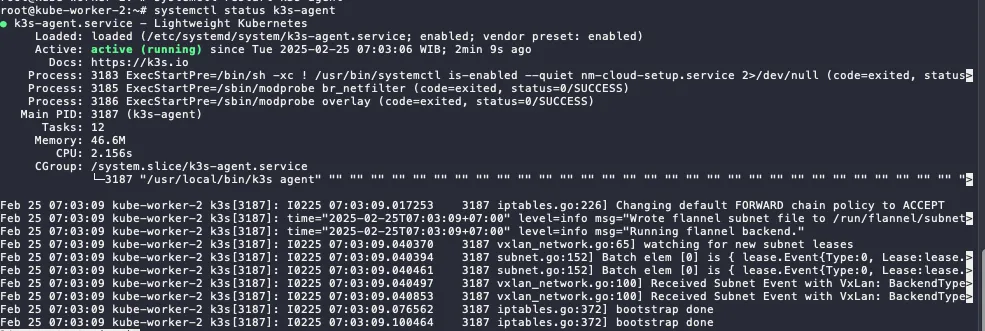
Check kubectl command in master node. Now, it will display more than 1 node (which is the includes all the installed worker nodes).
kubectl get node
⚠️ If you stuck in when starting k3s-agent. Make sure worker node and master node can be connecting. it could be firewall, proxy server, or incorrect/mismatched MTU. Script below can be use for check the connectivity.
curl -ks https://ipaddress:6443/ping
Install and Configure services in the Master Node
Because we disable some service in the master node. Now we are going to install it the replacement services.
HELM - Package Manager Installation
Install Helm using script below (the latest script can be seen on the Helm docs):
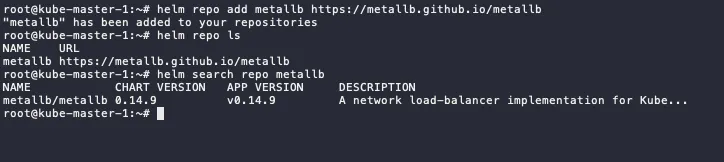
MetalLB - Load Balancer Installation and Configuration
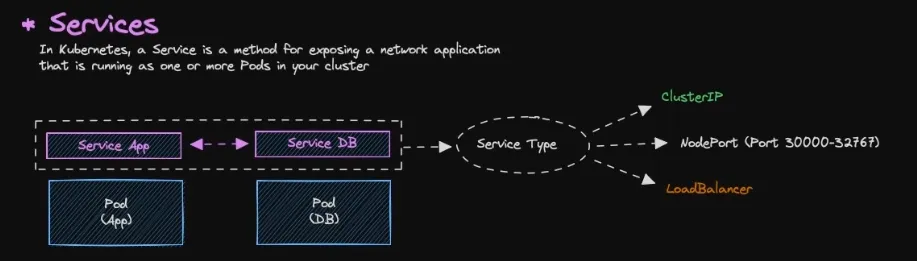
Services
As default, all resources in Kubernetes are isolated, specifically pods.
Pods are isolated by default. To enable communication between pods or with the external network, you need to configure Services.
There are several type of service:
ClusterIP → Default services, ClusterIP services provide an internal IP address within the cluster that other pods can use to communicate. They are not directly accessible from outside the cluster.
NodePort (Port 30000-32767) → NodePort services expose a port on each node in the cluster, allowing external access. The port range 30000-32767 is the default range.
LoadBalancer → LoadBalancer services provision an external load balancer that distributes traffic to multiple pods.
Pull the nginx-ingress from the repository, it will download tgz file.
# run this in the home dir or other directoryhelm pull nginx-stable/nginx-ingress# extract the tgztar xvf nginx-ingress-*
Change directory to nginx-ingress and edit values.yaml file.
cd nginx-ingress# edit values.yamlvim values.yaml# locate ingressClass and change the variable below to true...ingressClass:... setAsDefaultIngress: true...
Search the nginx, we will use bitnami/nginx for the webserver nginx
helm search repo nginx
Pull the nginx from the repository, it will download tgz file.
# run this in the home dir or other directoryhelm pull bitnami/nginx# extract the tgztar xvf nginx-* #make sure the nginx not nginx-ingress
Change directory to metallb and edit values.yaml file.
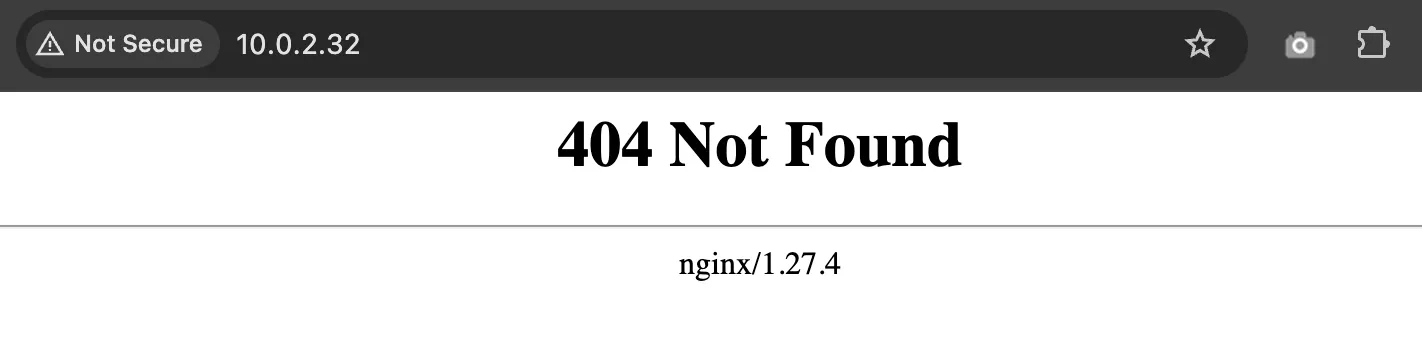
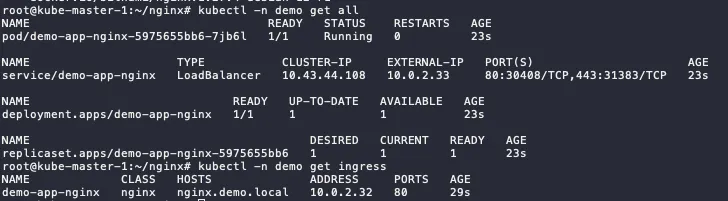
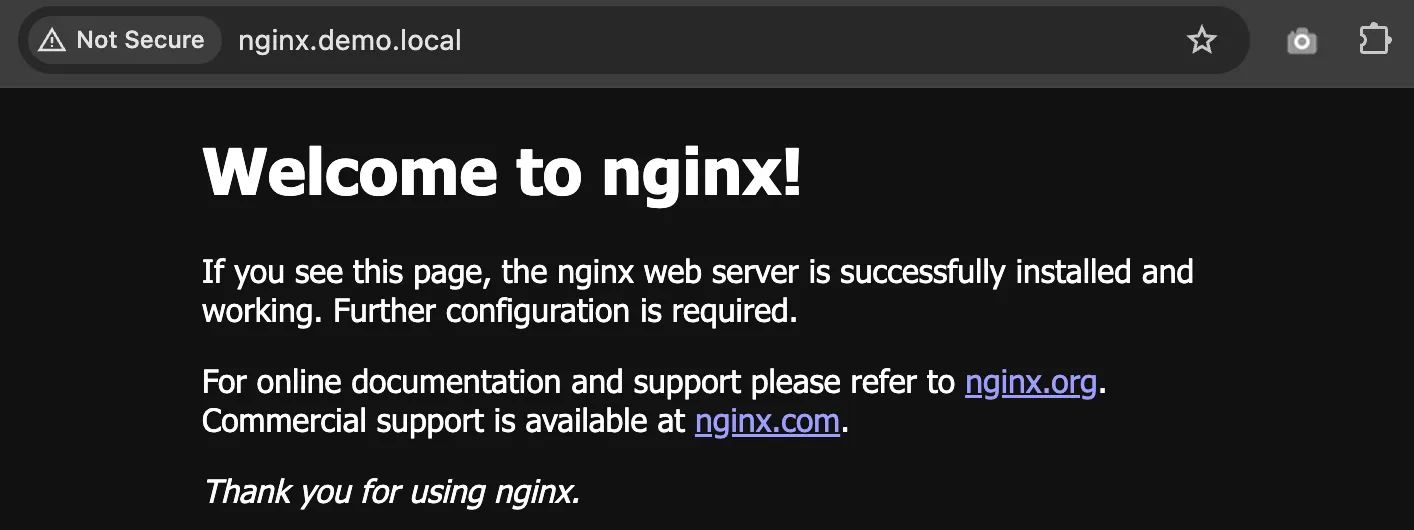
cd nginx# editvim values.yaml#locate these variables...ingress: enabled: true ... hostname: nginx.demo.local # make sure this FQDN is pointing to the ingress IP ... ingressClassName: "nginx" # check using `kubectl get ingressclass`...